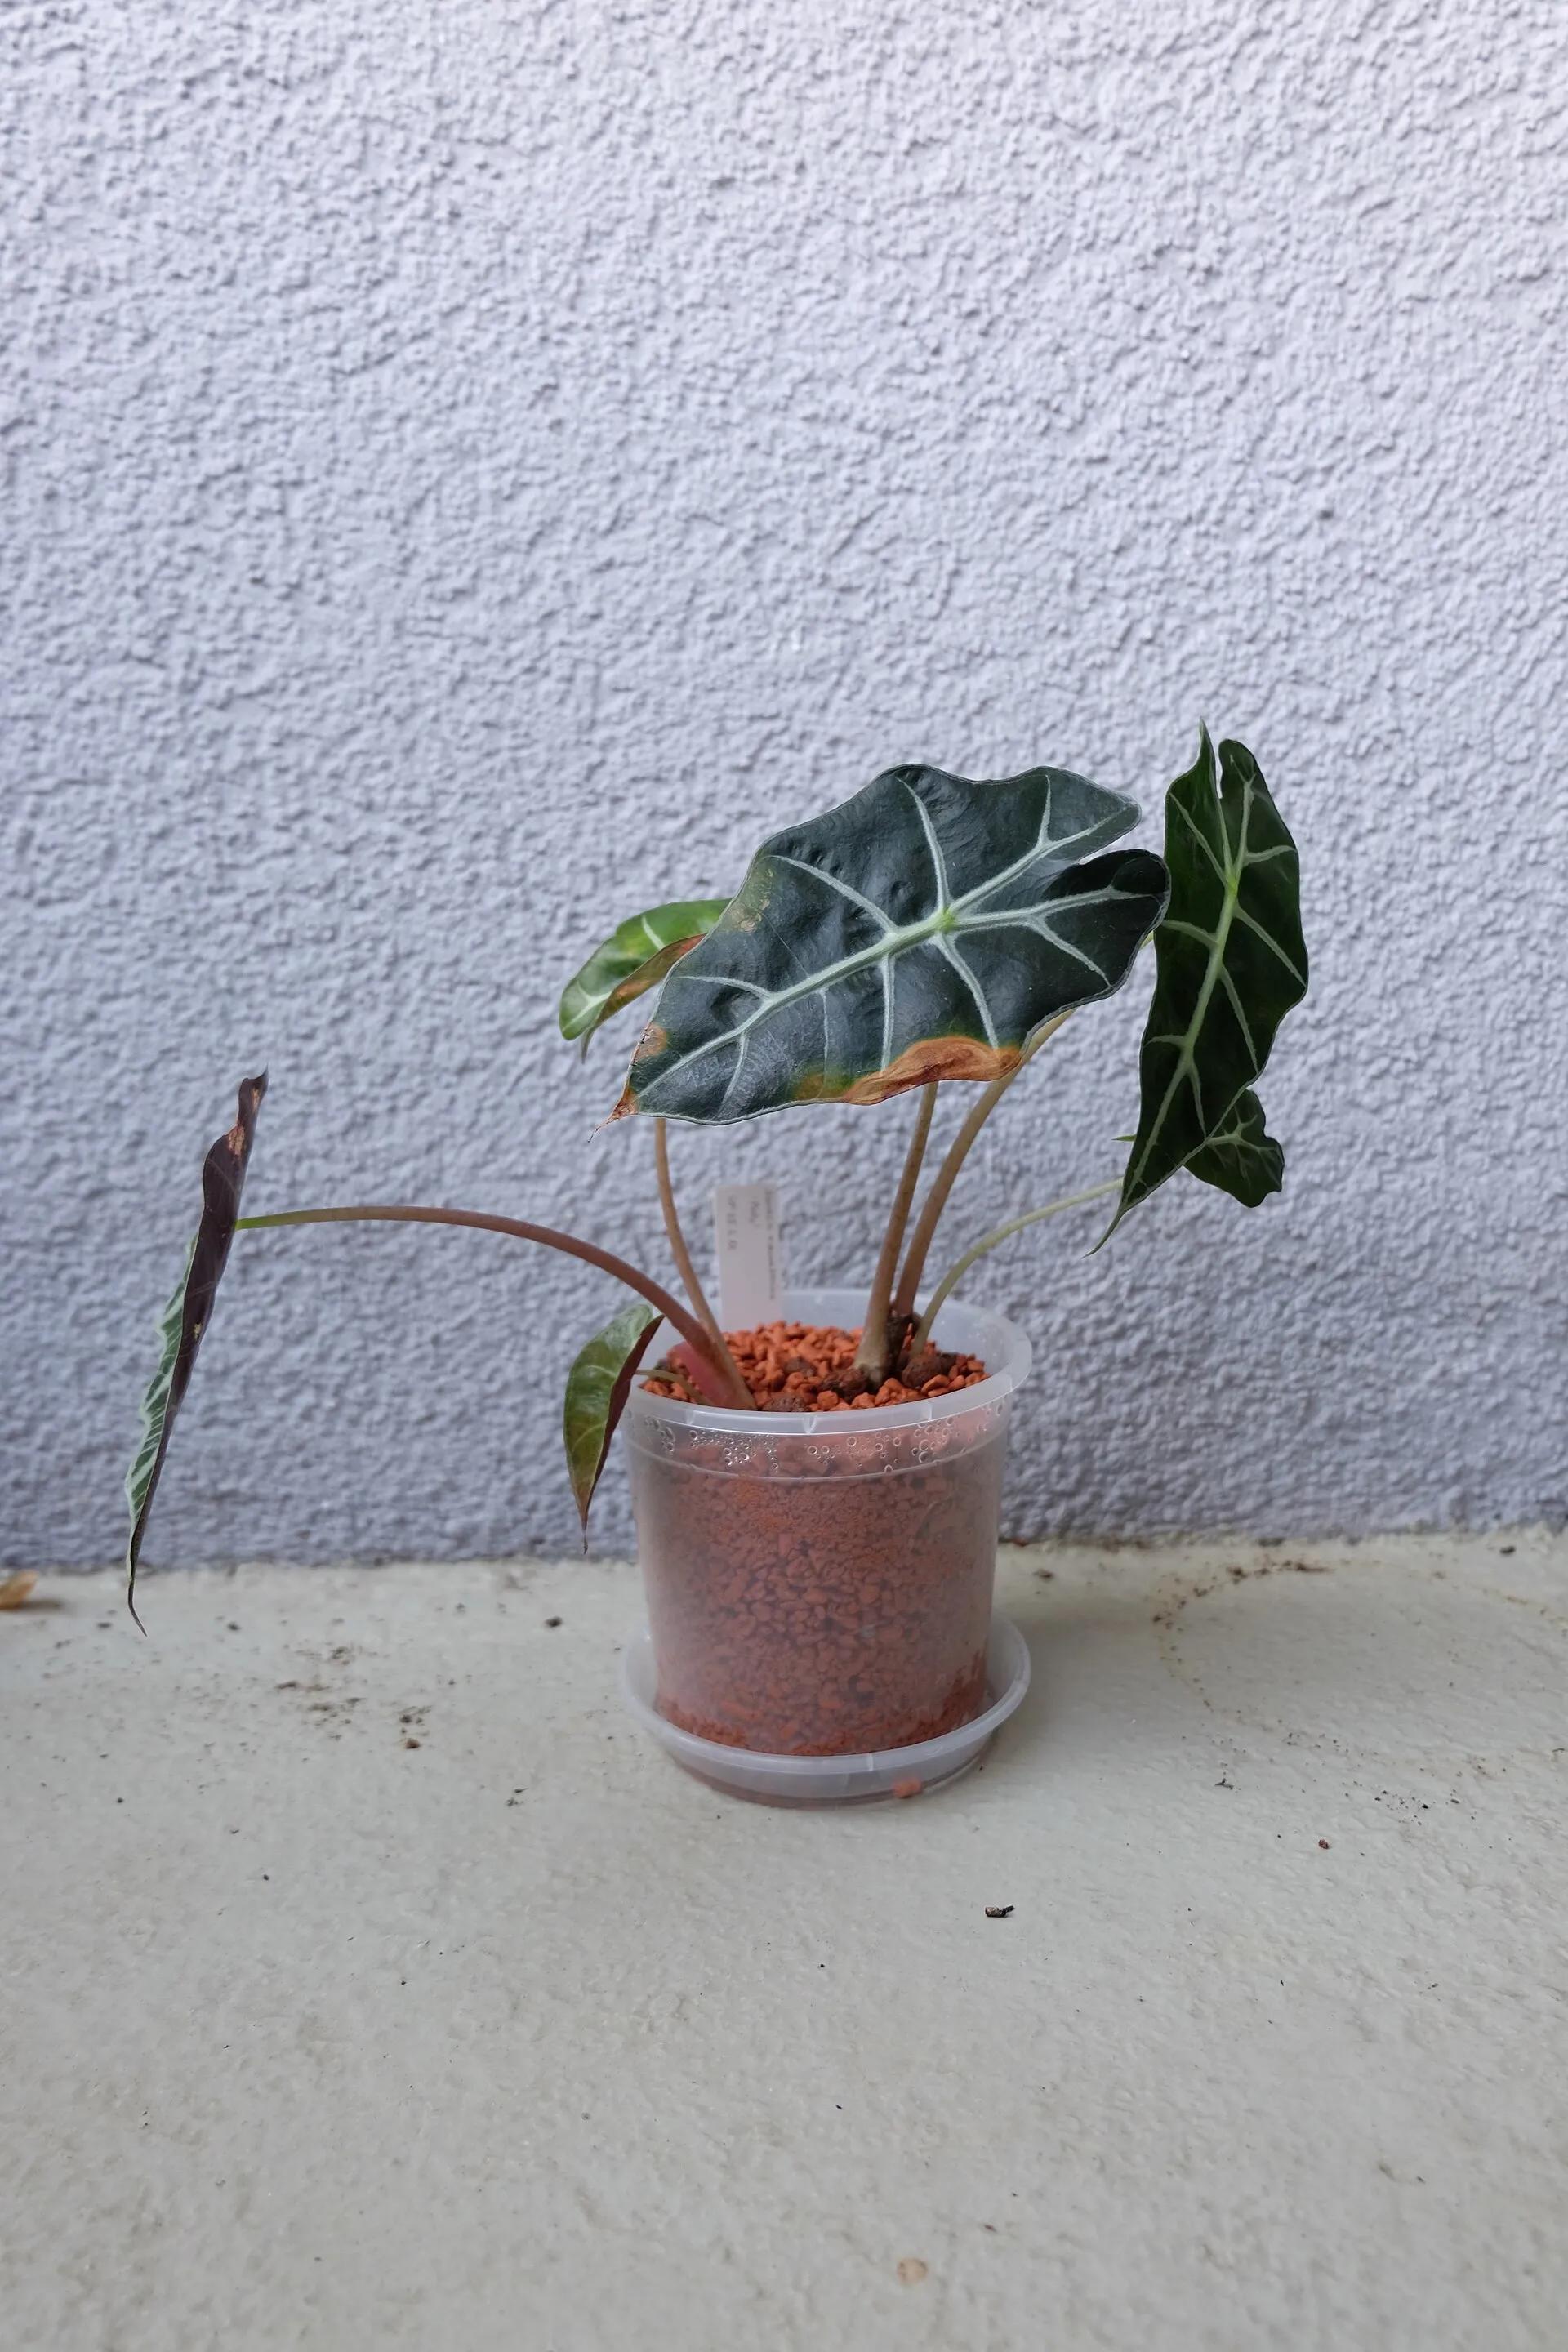
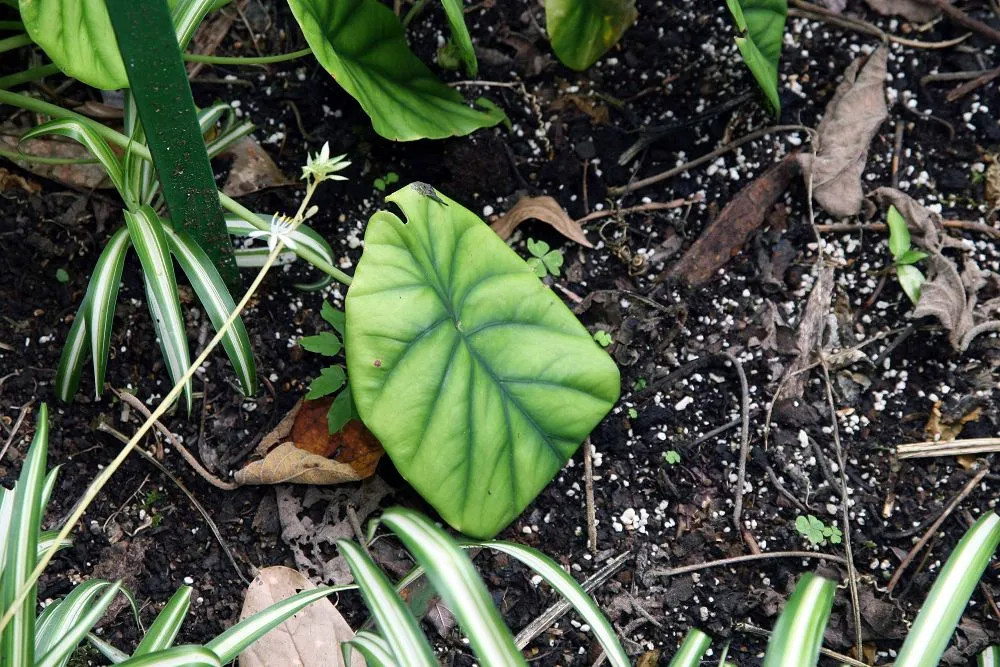
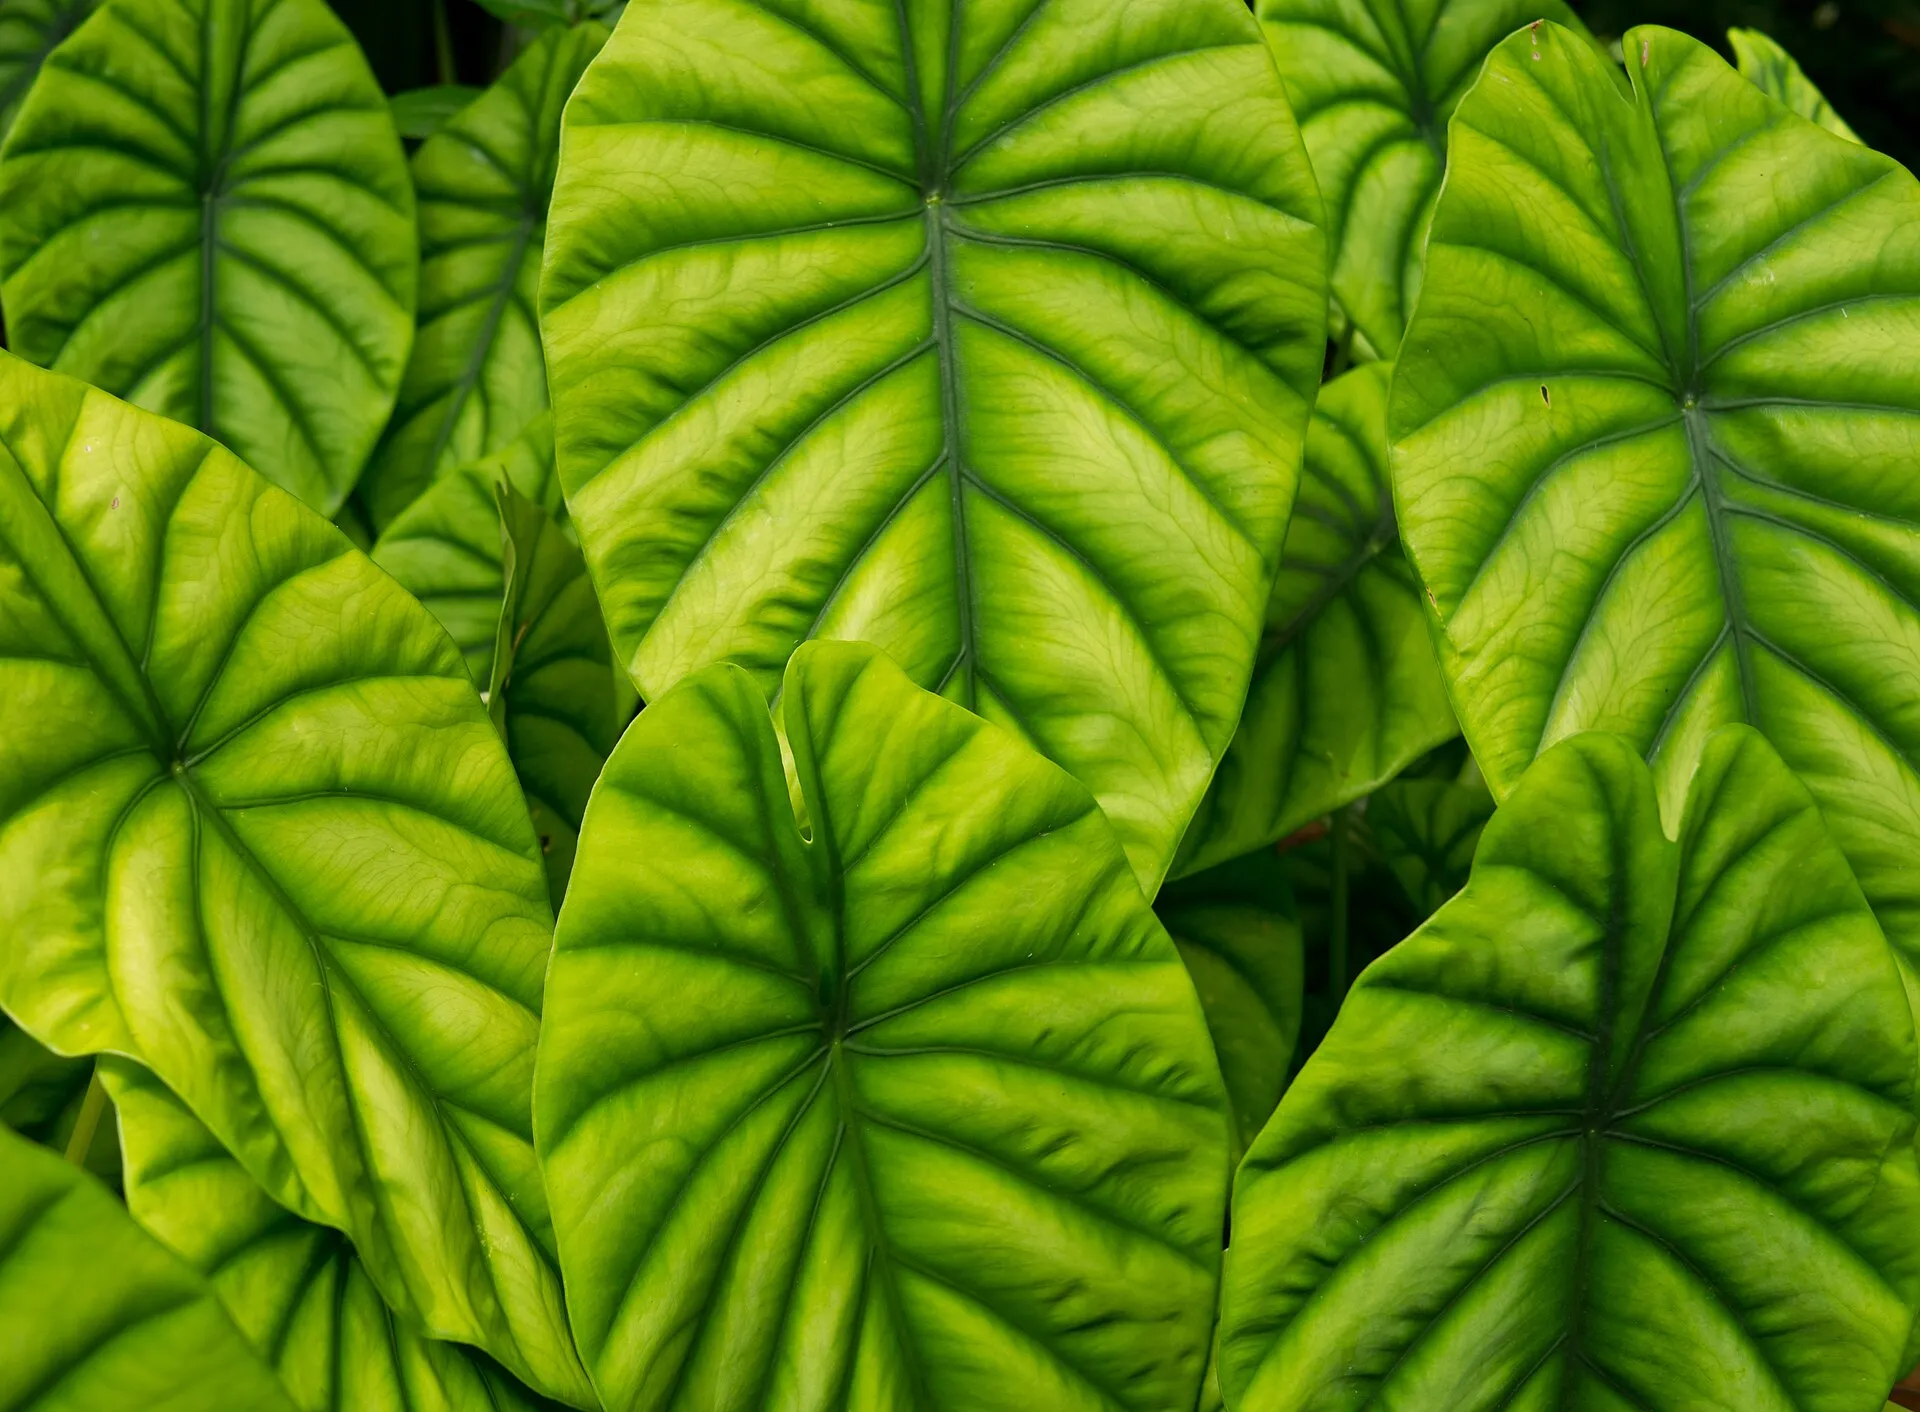
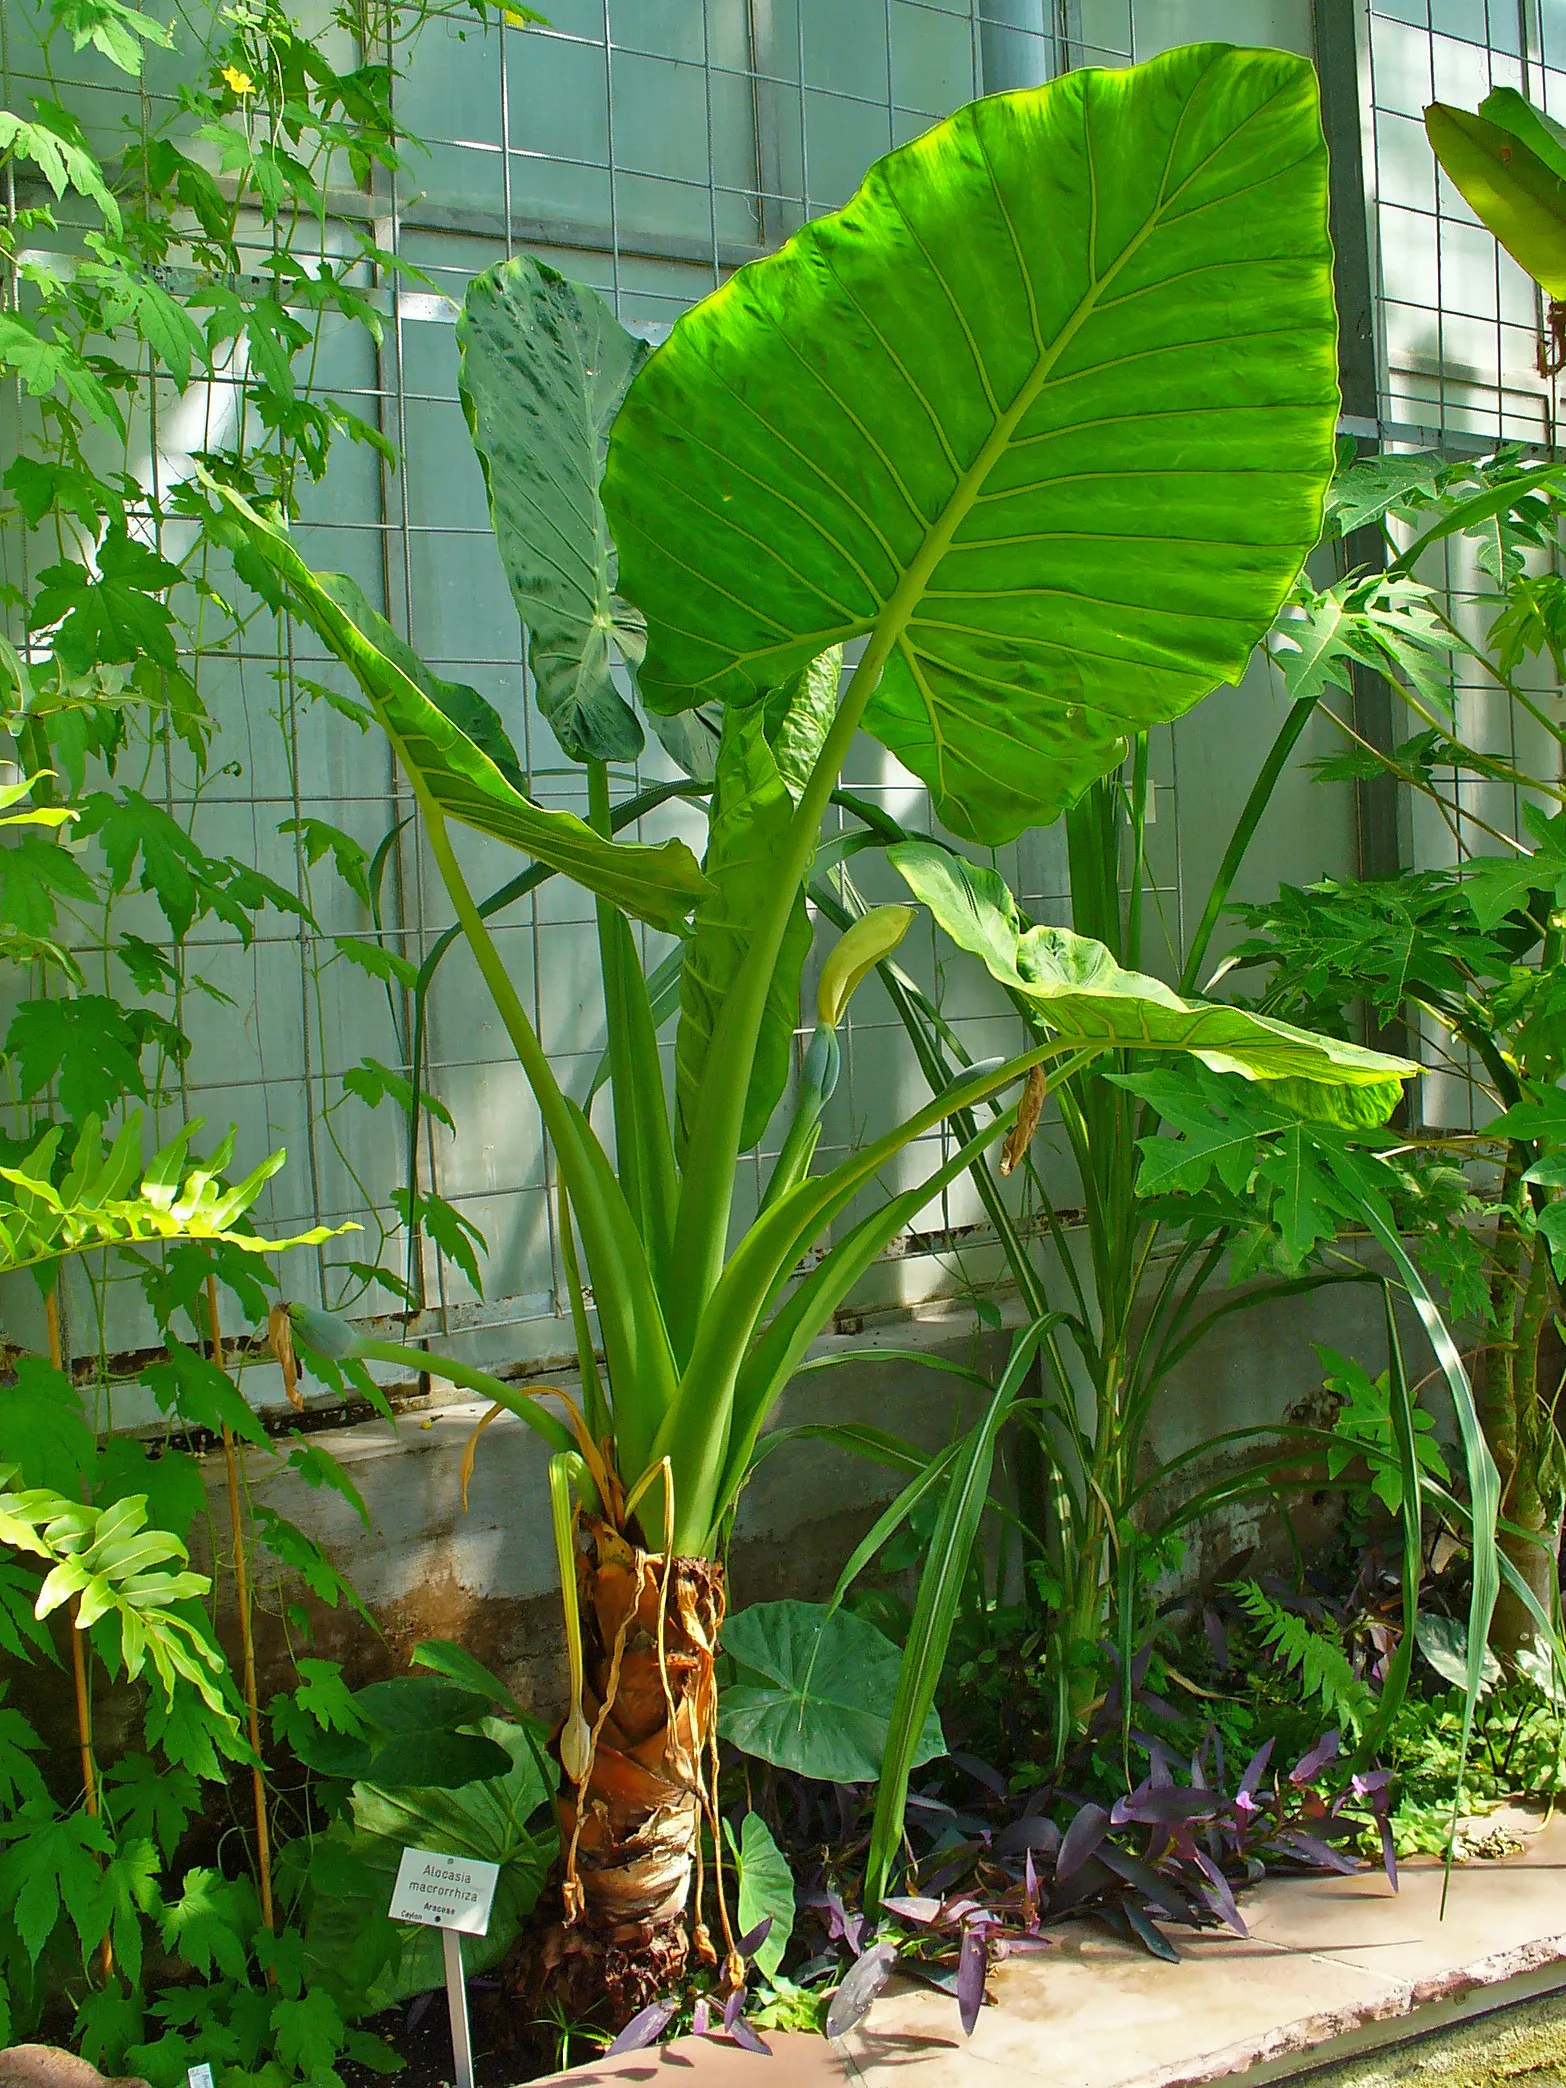
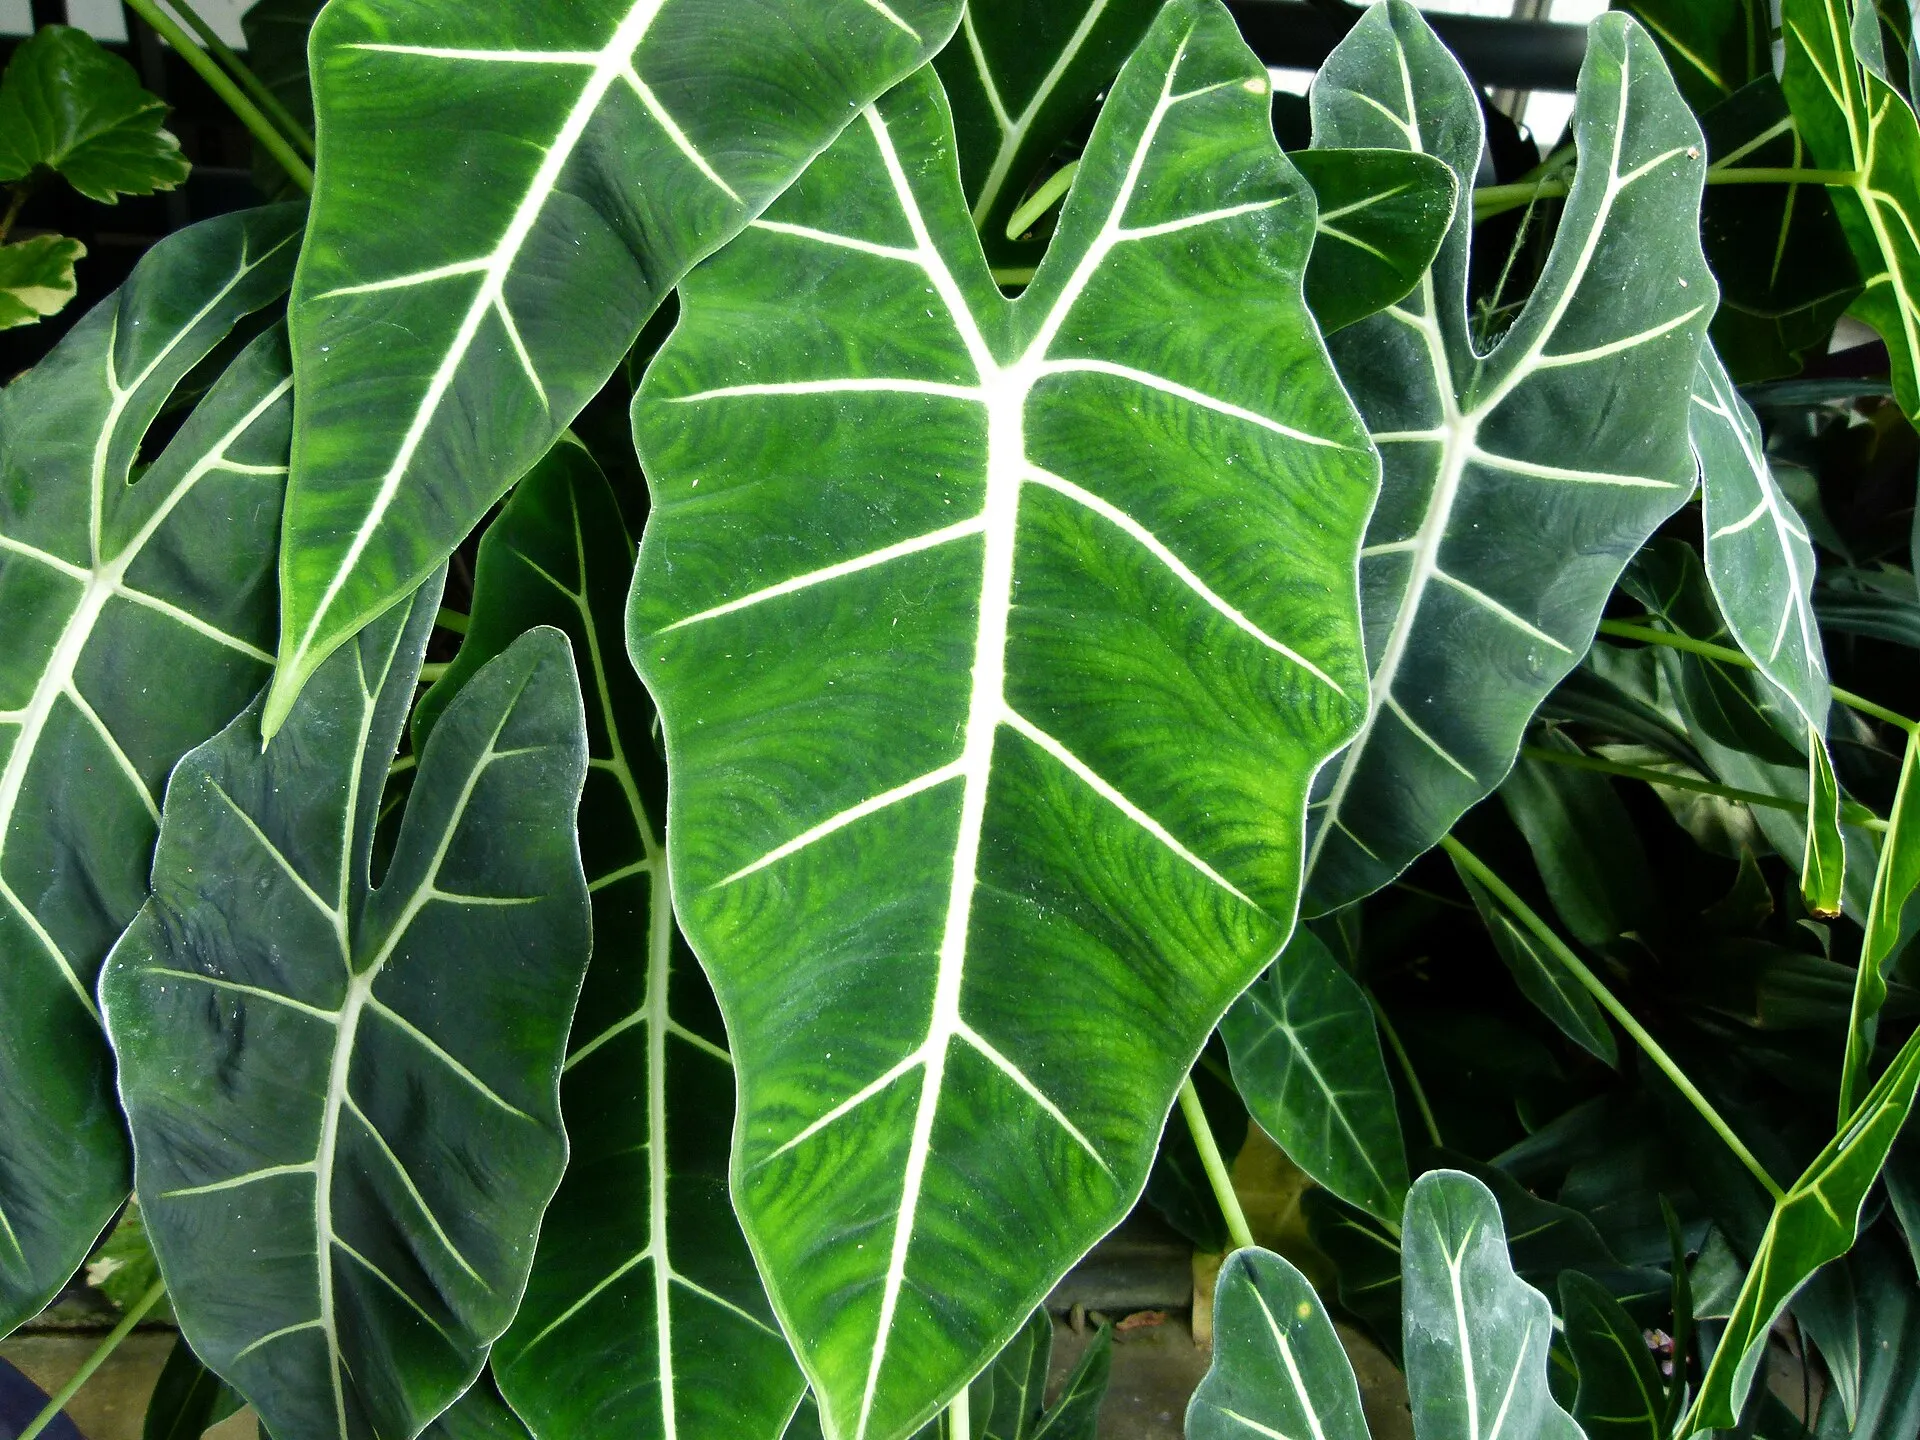
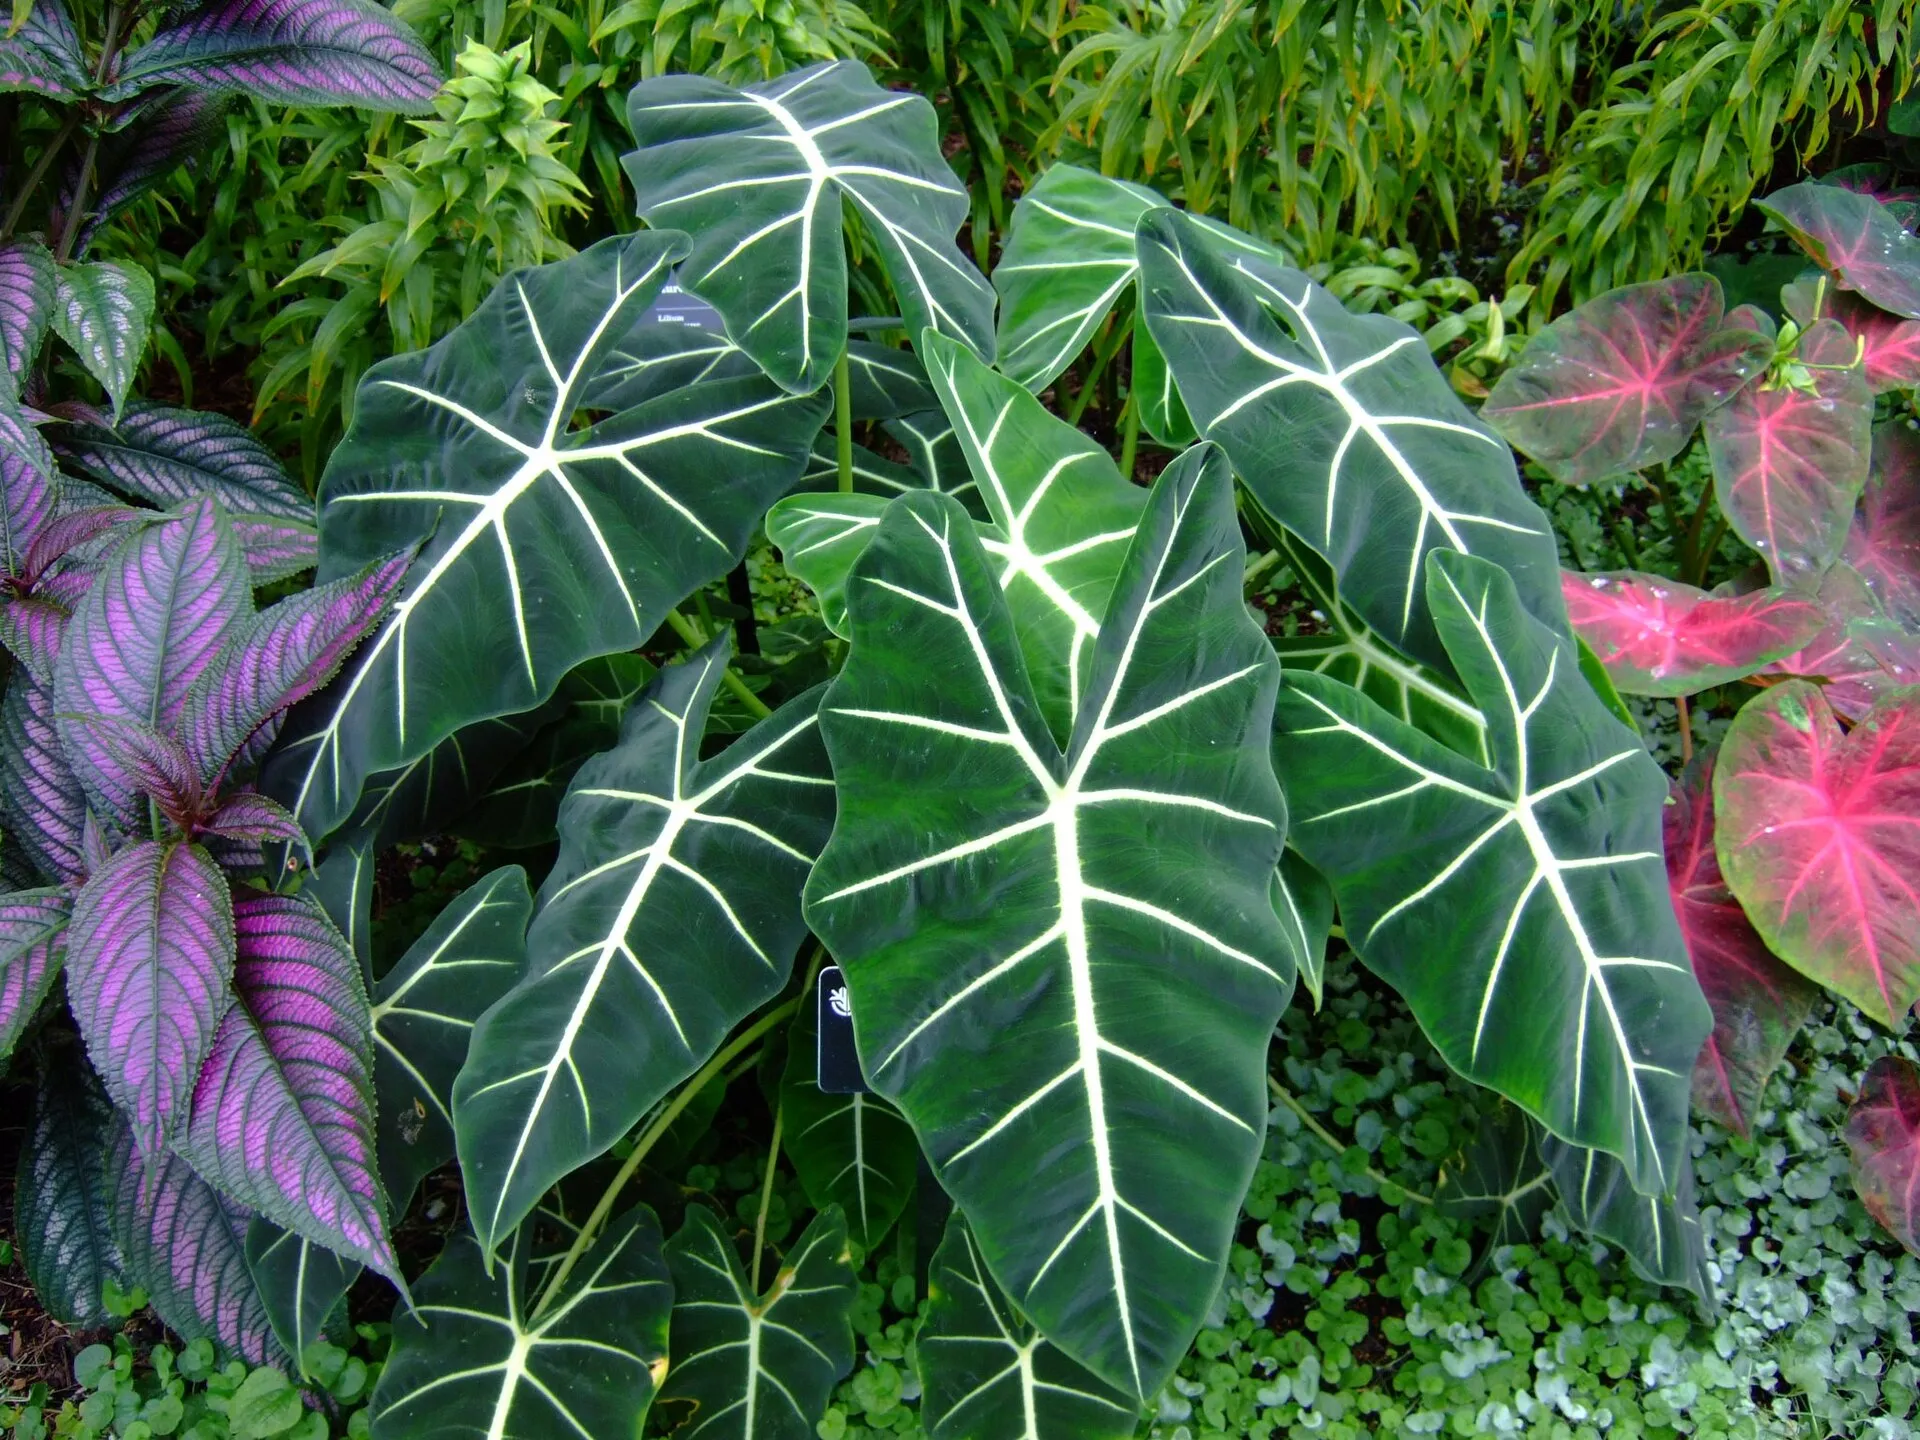
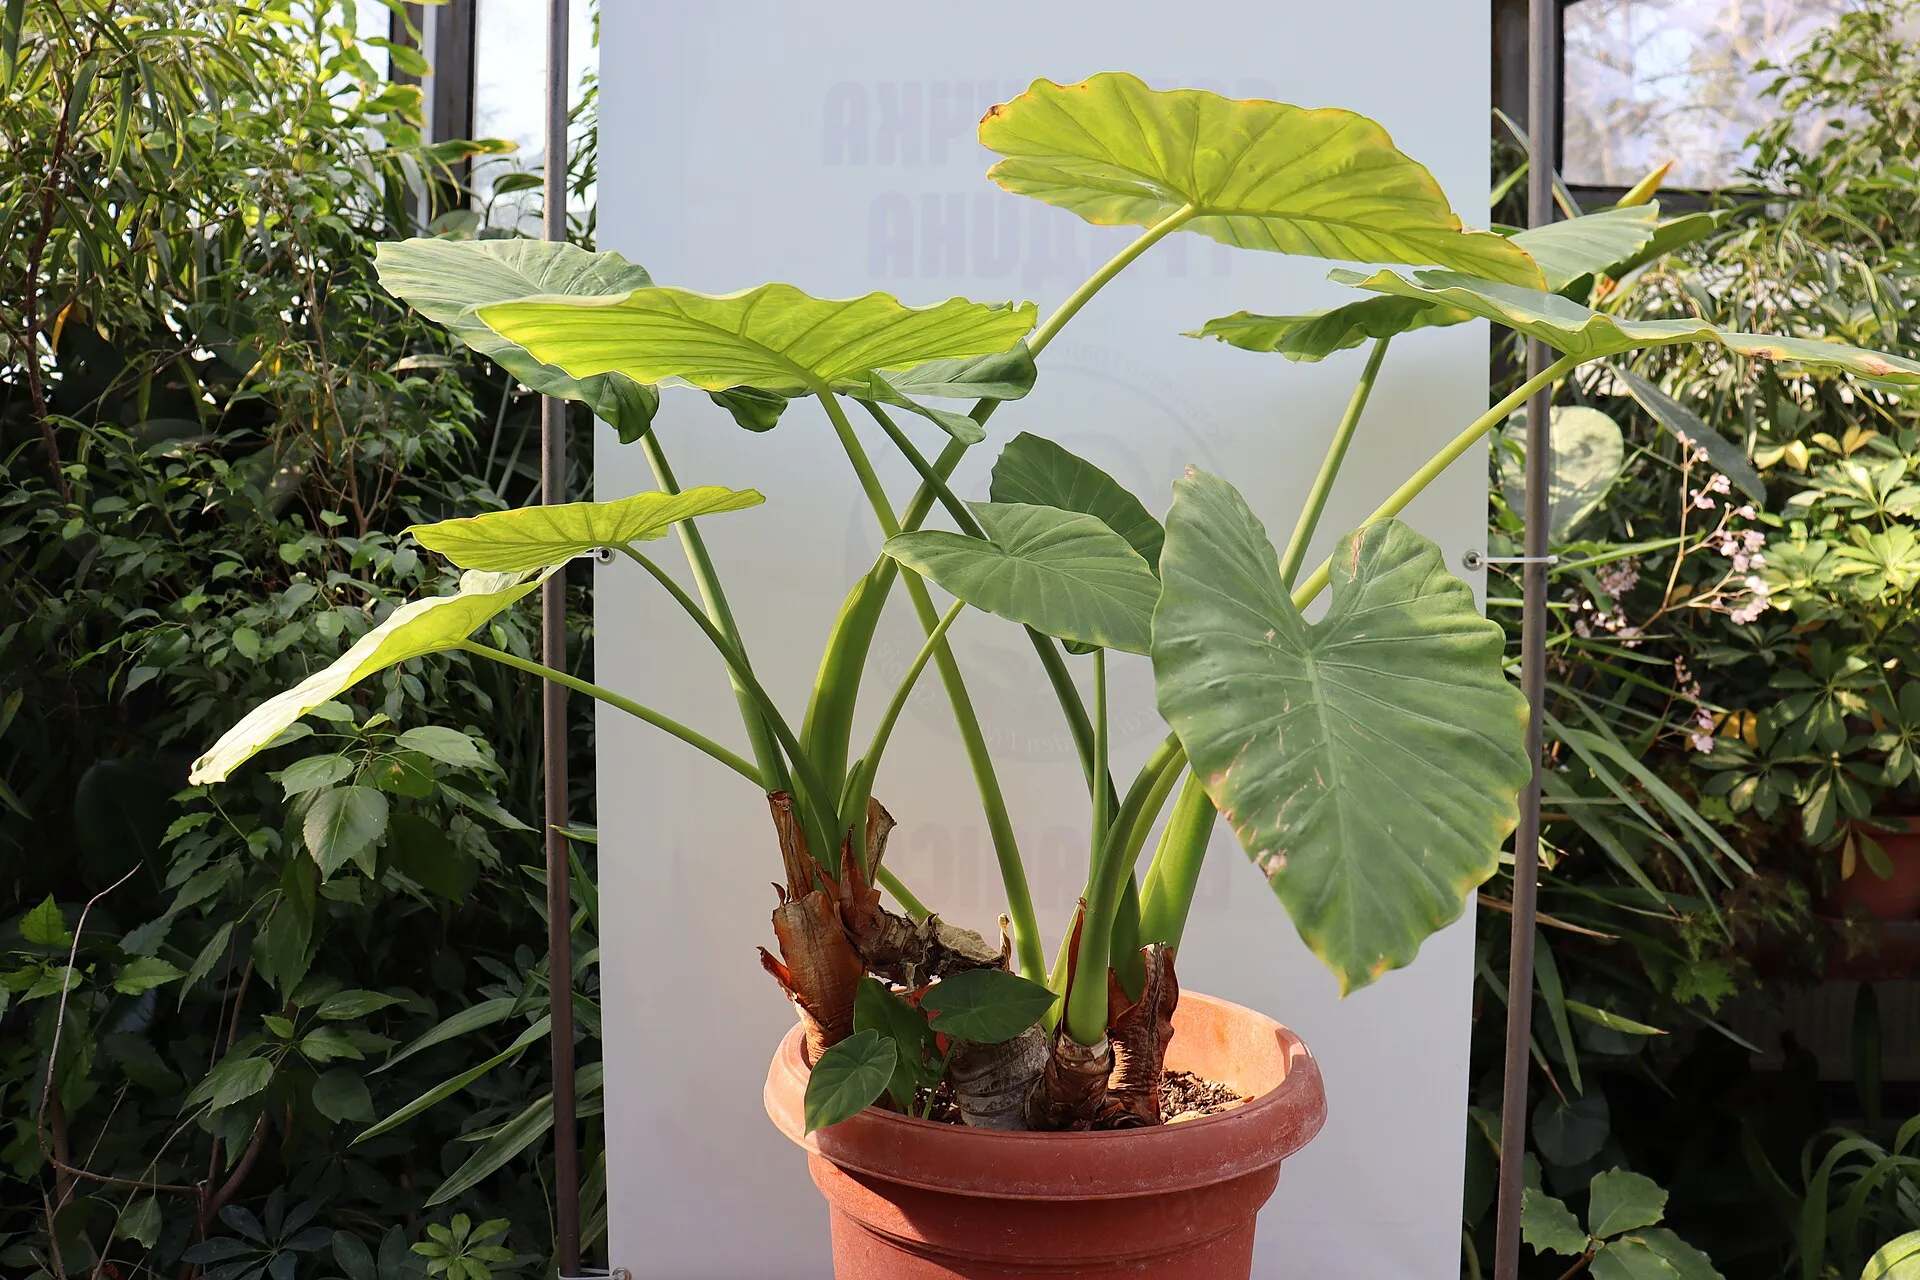
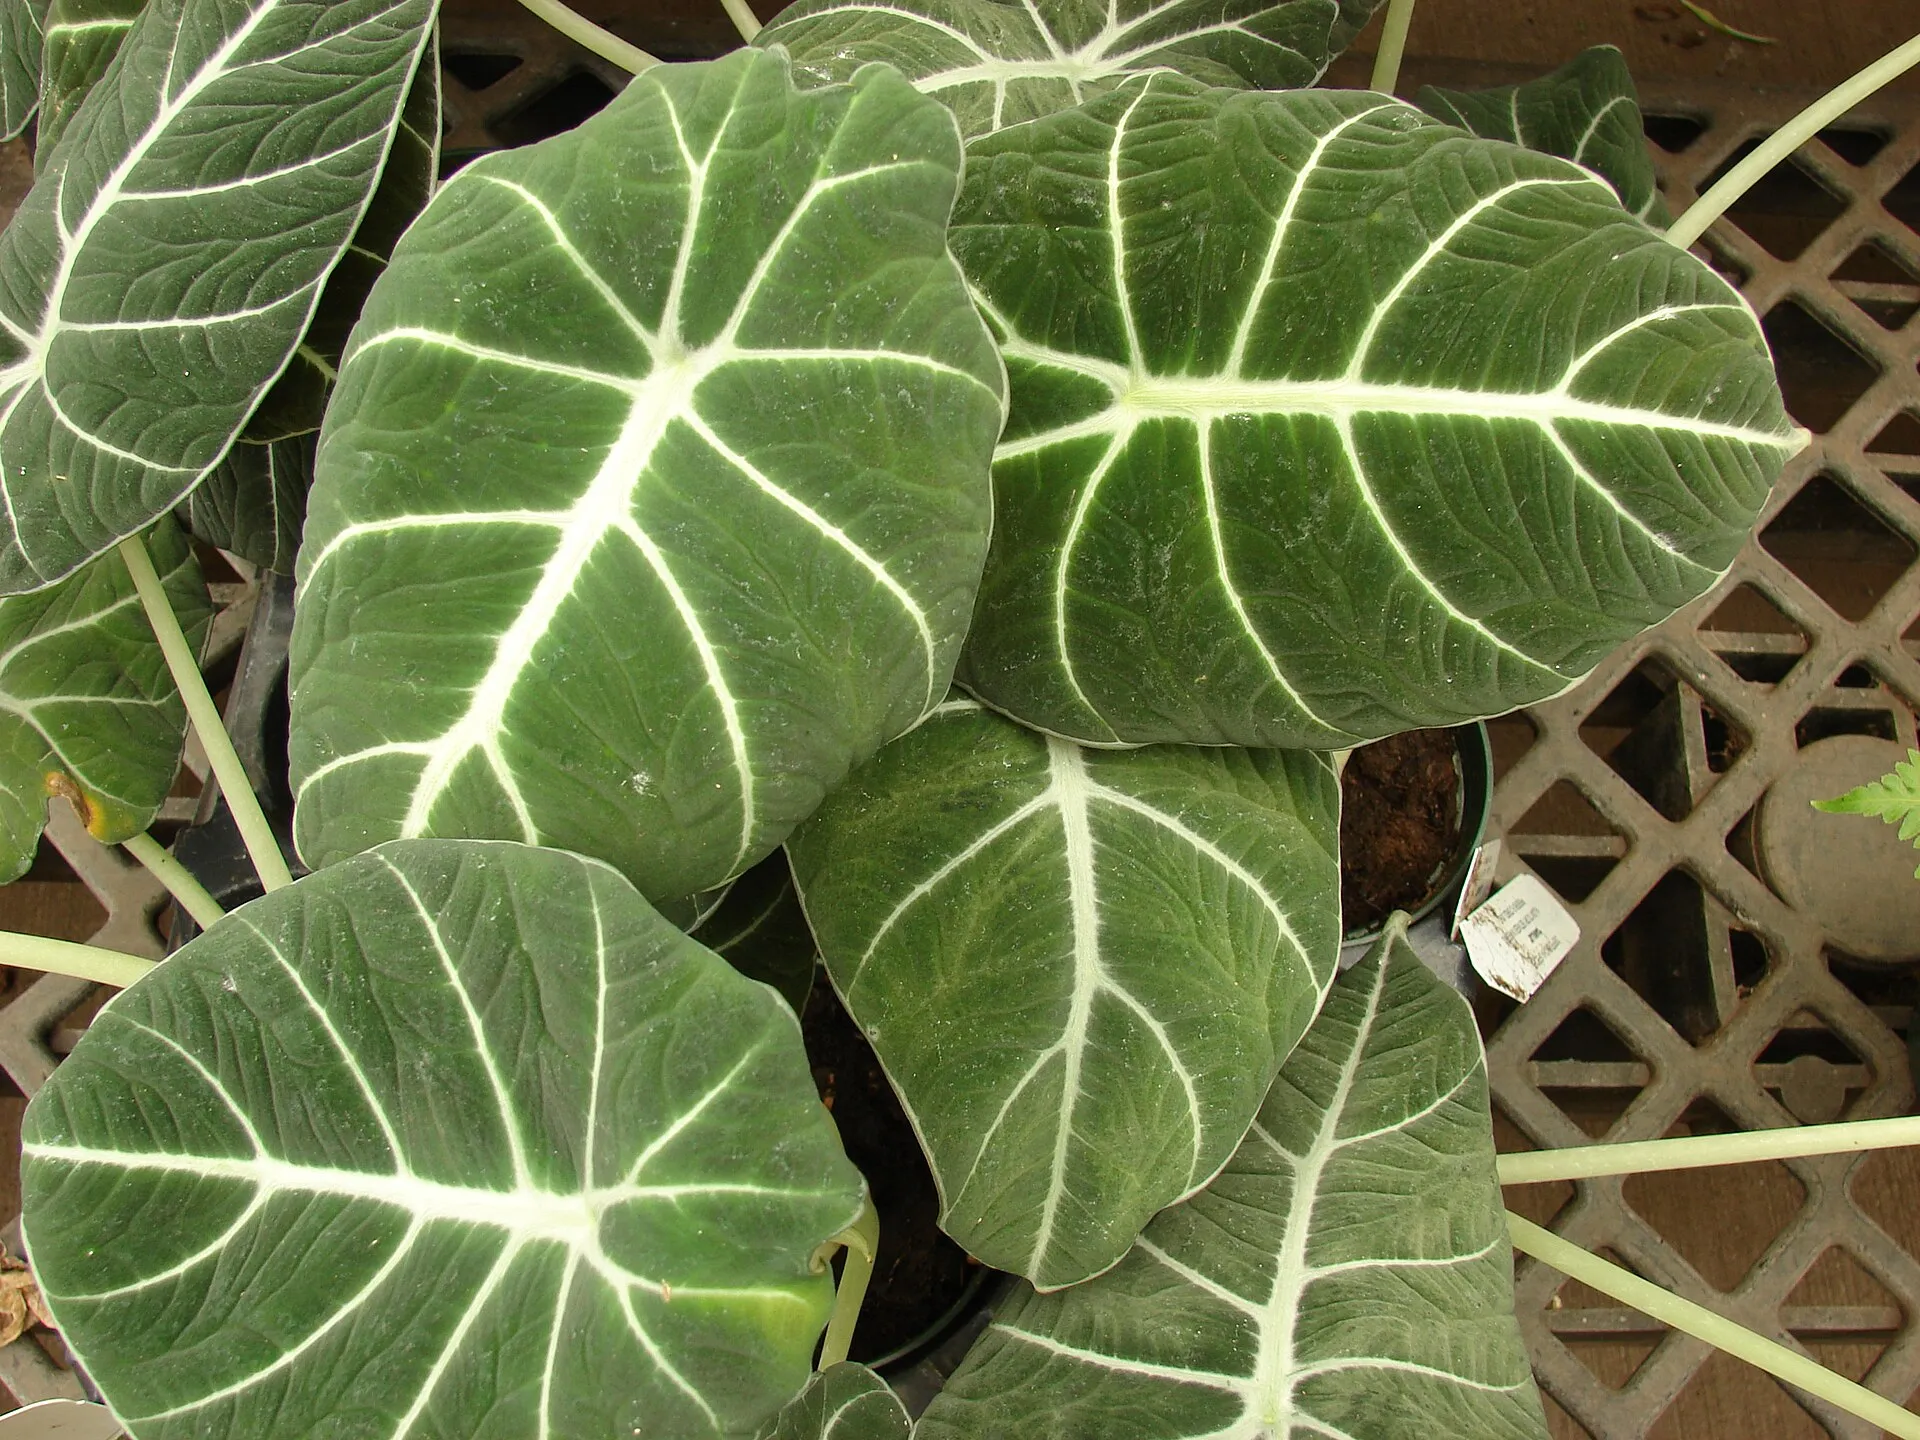
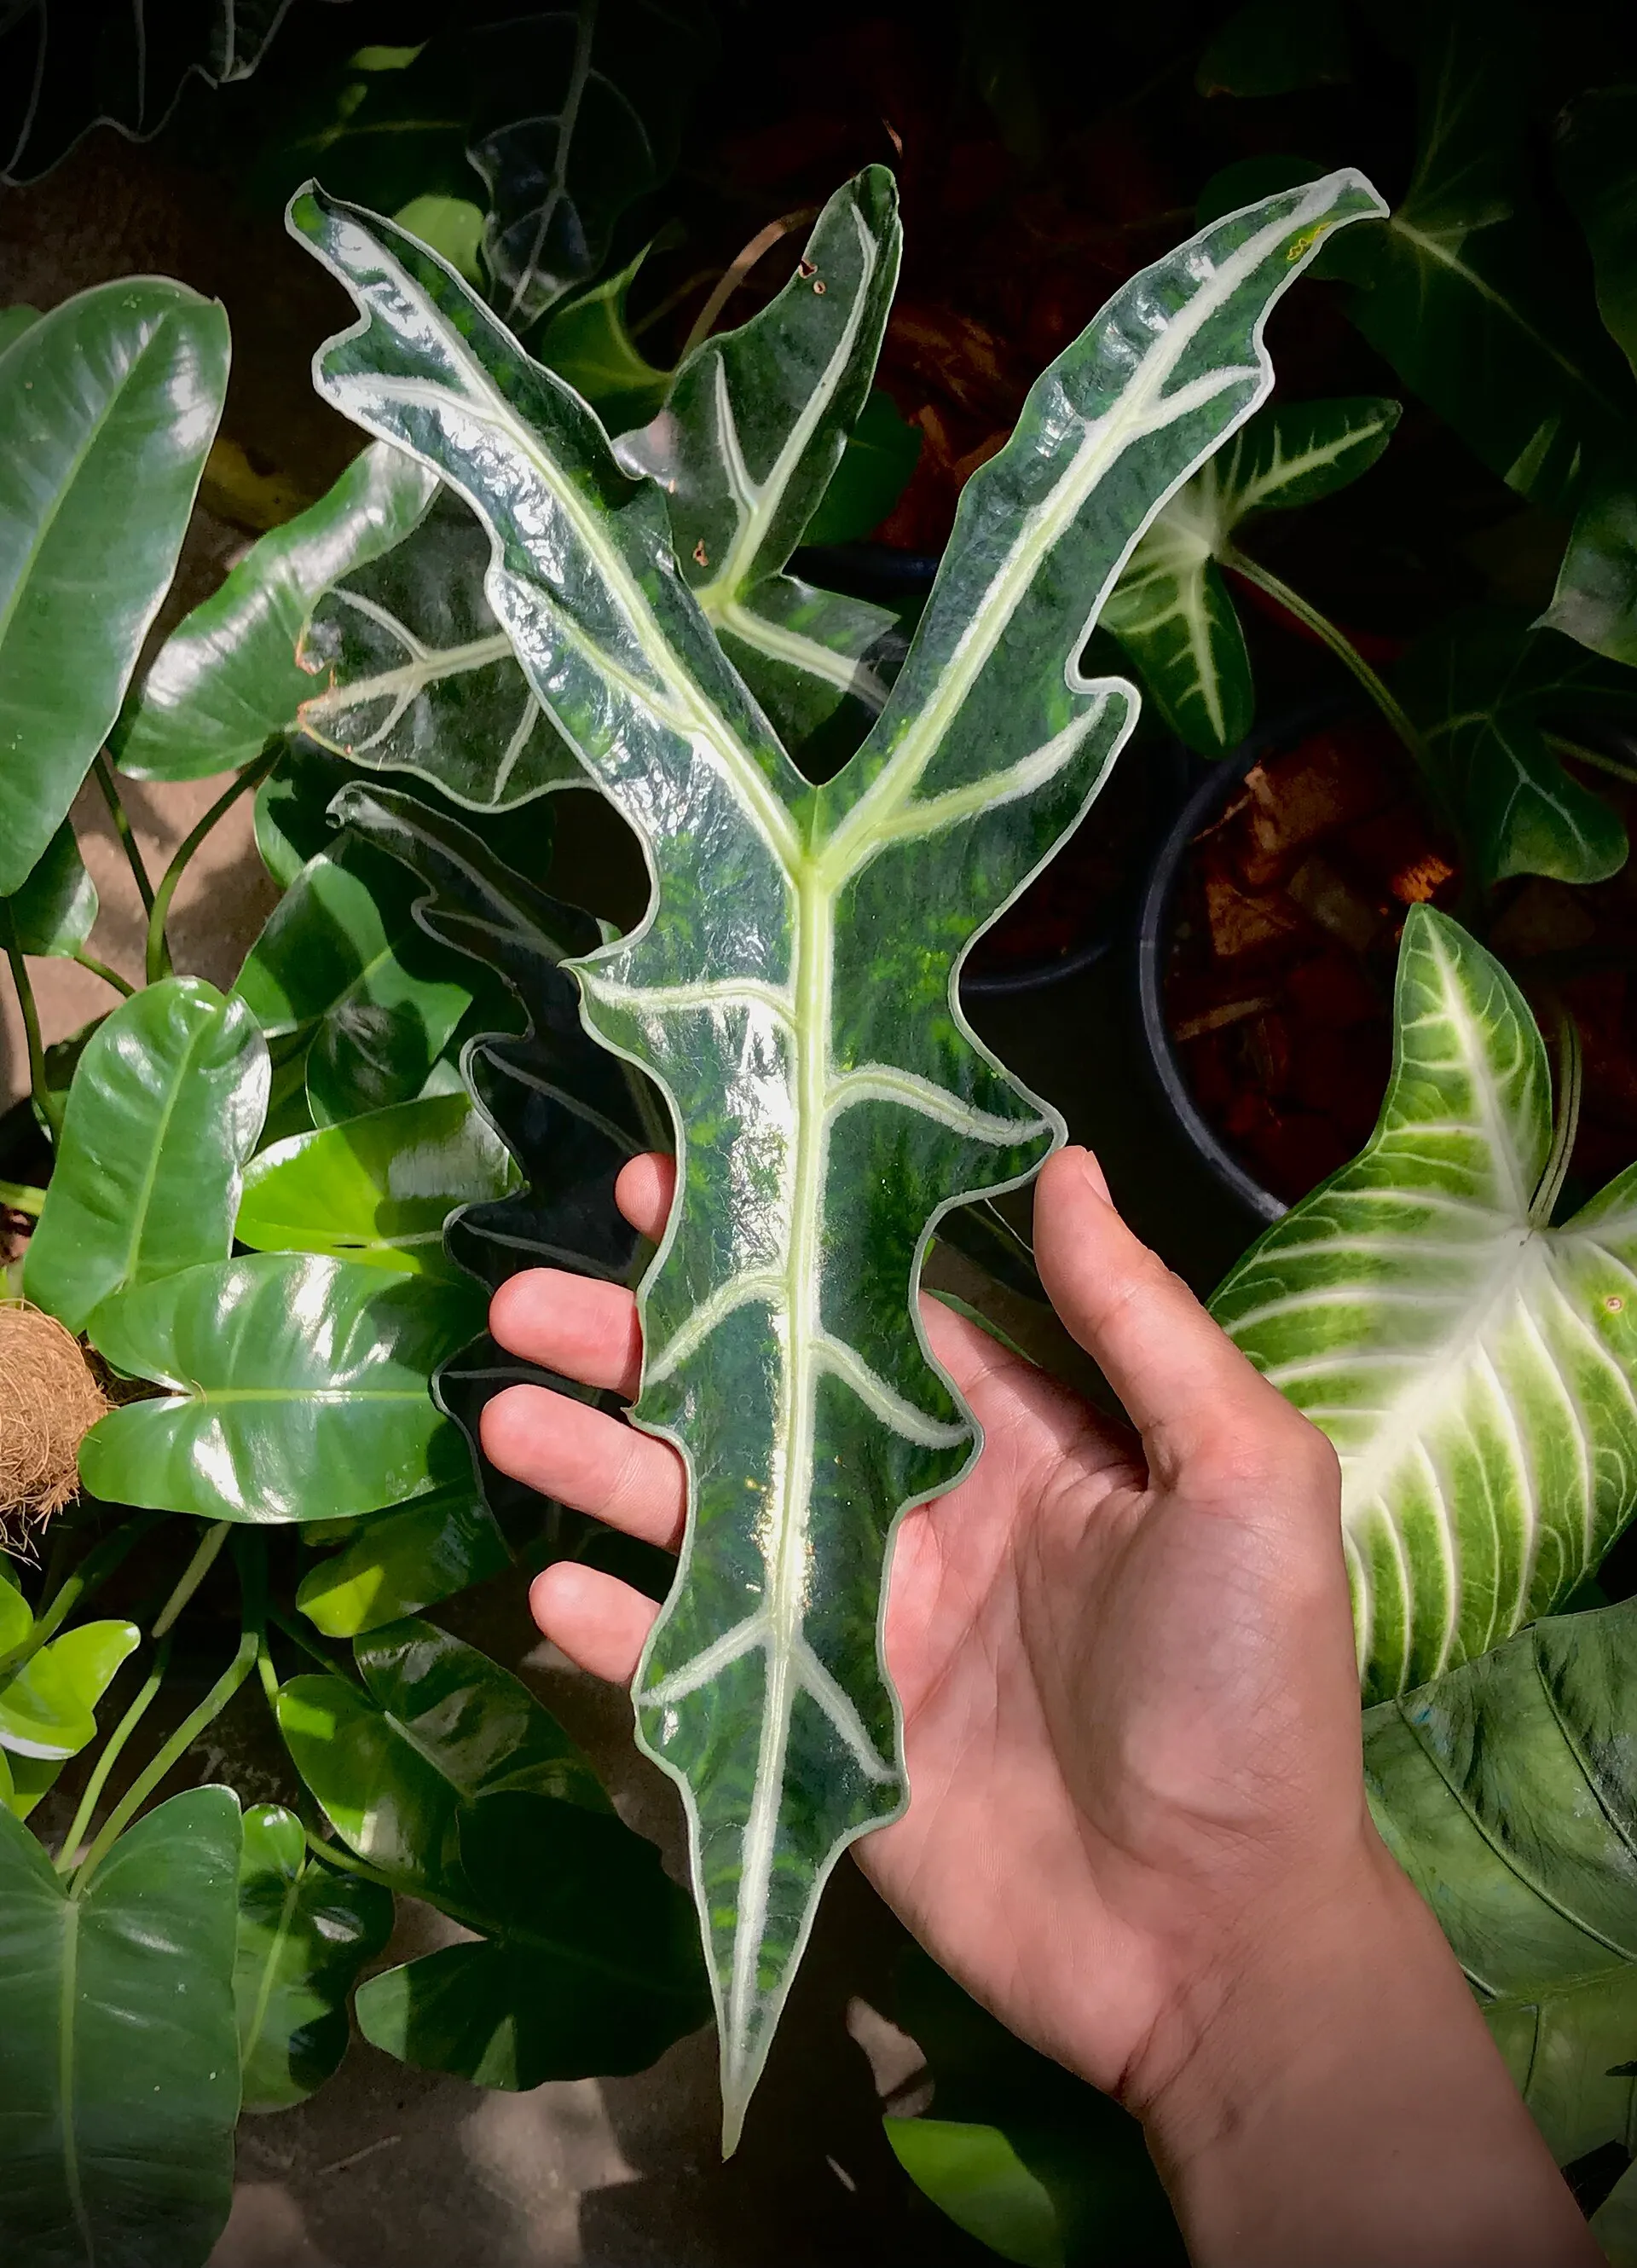
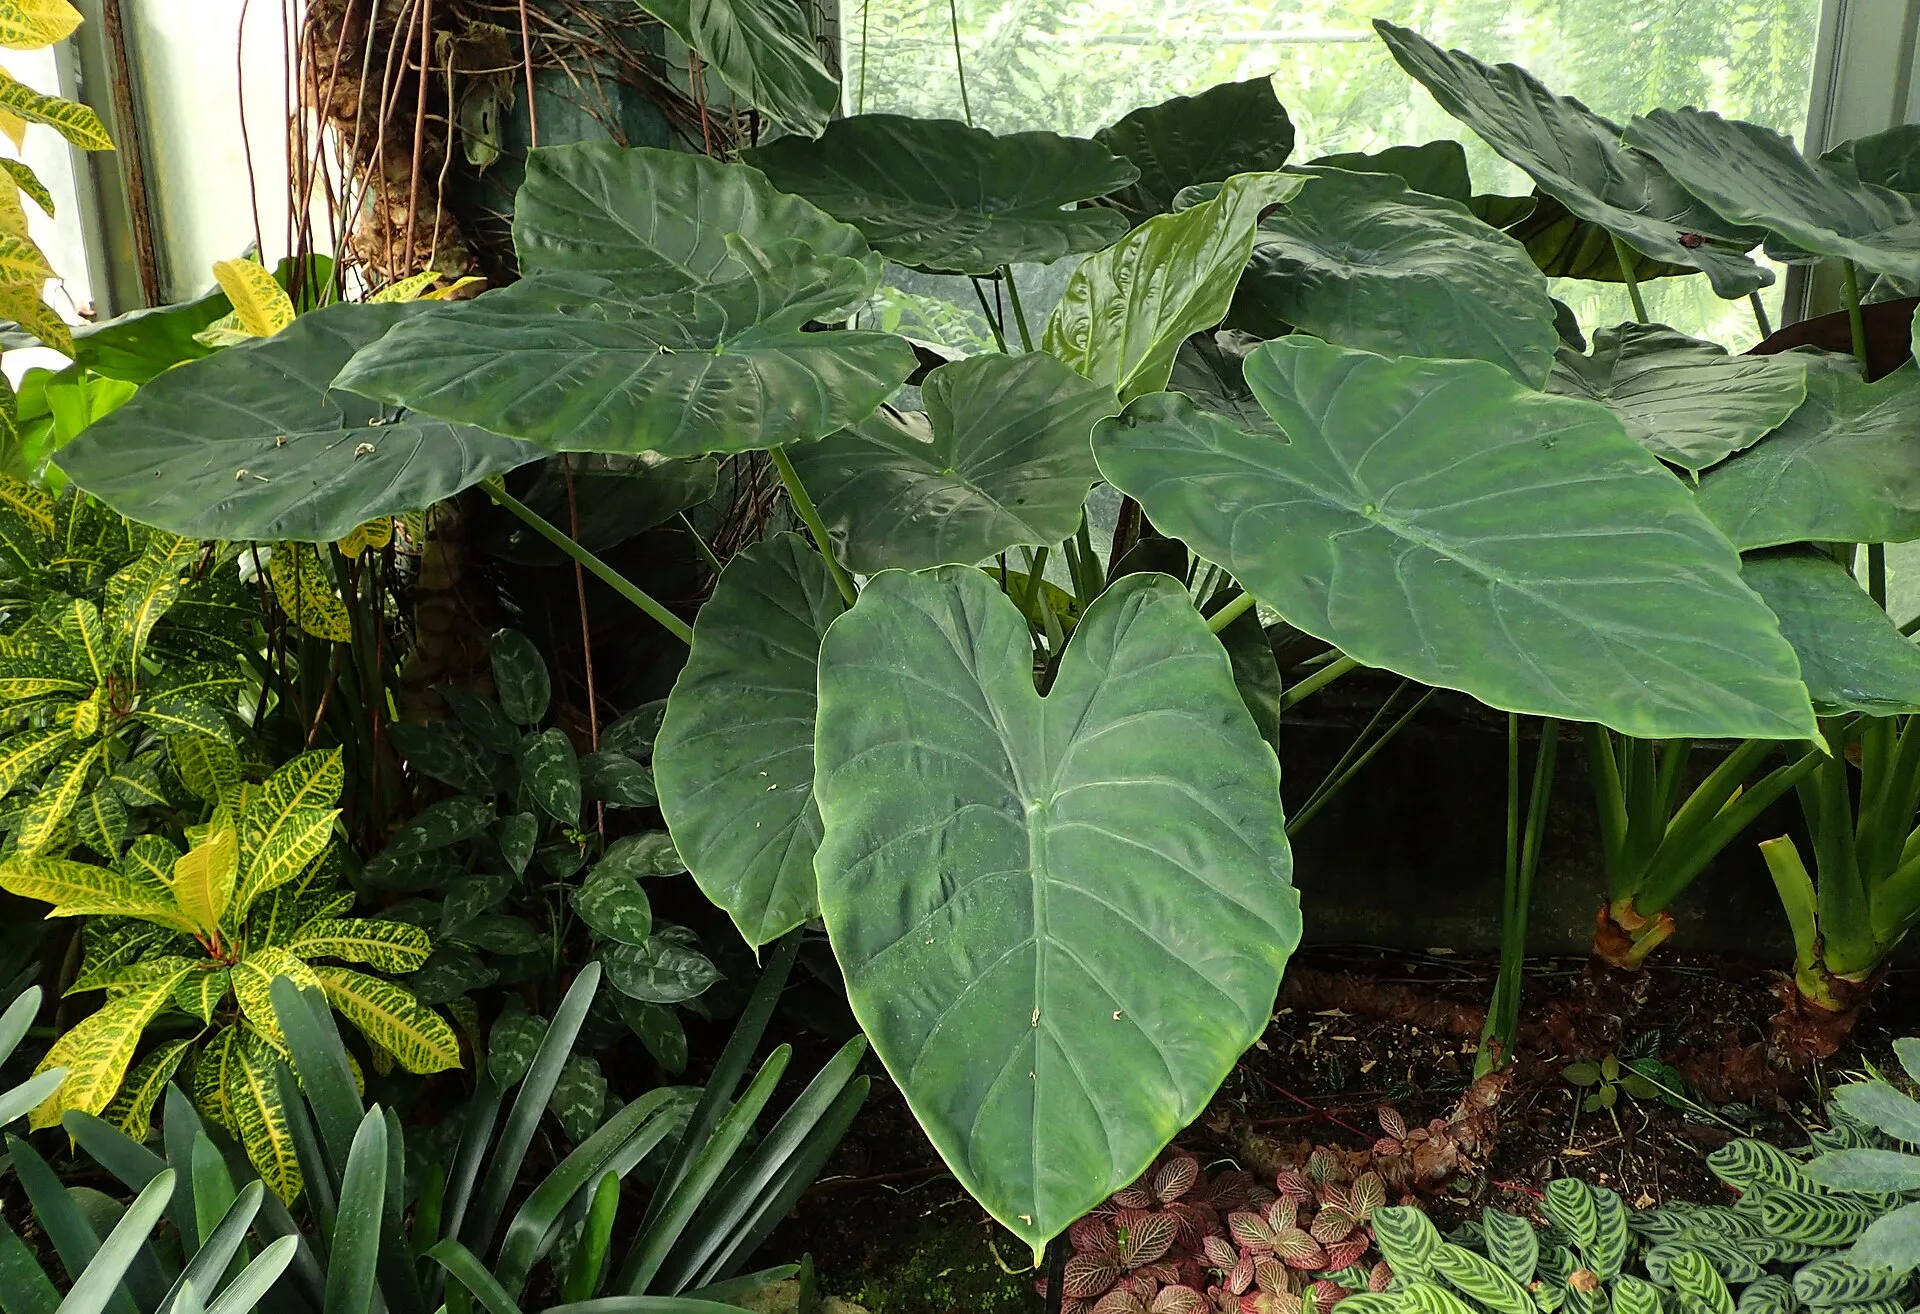
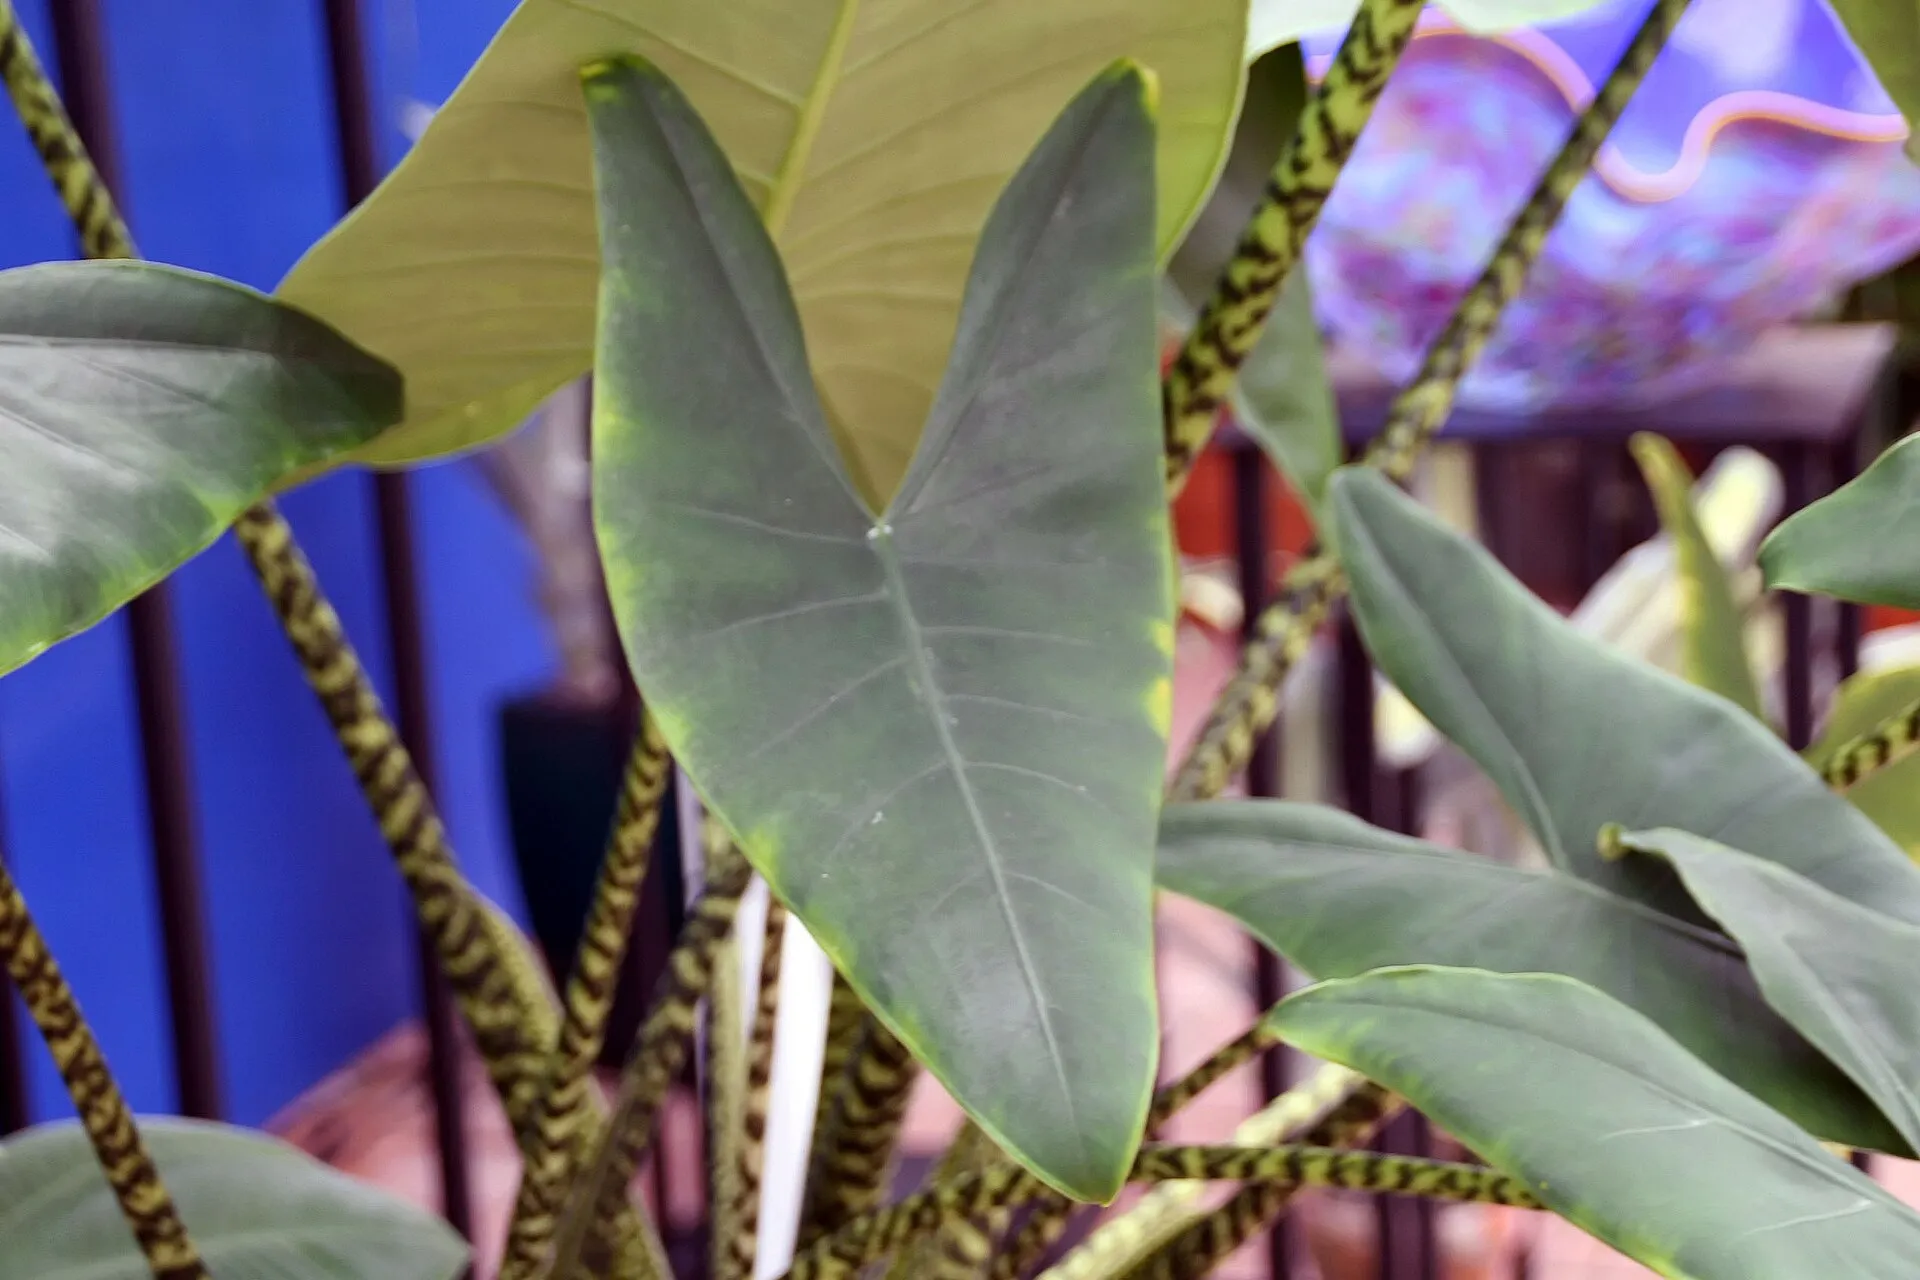
Start with the thing that trips most people up. An Alocasia cutting will never root.
Alocasia have no nodes along a stem to cut below. What looks like a stem is a petiole, a leaf stalk, and it cannot produce roots. Cut one and put it in water and it will rot.
This applies to every Alocasia. Zebrina, Frydek, Black Velvet, Polly, Dragon Scale and the rest all multiply the same two ways.
Method 1: corm propagation
Alocasia produce small round corms along their roots, like miniature bulbs. Each one can become a whole new plant.
- Unpot the plant and gently wash the soil off the root ball so you can see it.
- Look for firm, pale, pea to marble sized bumps attached to the roots. Soft or hollow ones are dead, so discard them.
- Twist or snip each corm free.
- Peel the brown papery skin off. Underneath should be white or pale green.
- Sit them in a covered container on damp sphagnum moss, pointed end up, with the top third exposed.
- Keep them warm, around 22-25°C (72-77°F), and out of direct sun. Air the container out every few days.
A root appears first, then a tiny leaf, usually somewhere between four and eight weeks. Pot into a small container of aroid mix once the first leaf has opened.
How many corms to expect
This varies a lot by species. The large fast growers like Alocasia macrorrhizos and Alocasia odora produce corms freely. The jewel types such as Alocasia reginula and Alocasia baginda produce very few, and slowly.
Method 2: division
Mature Alocasia often produce offsets, small plants with their own leaves and roots growing beside the parent.
- Unpot and clear the soil away from the base.
- Find where the offset joins the parent. If it has its own roots, it is ready.
- Separate by hand where possible, or cut cleanly with a sterilised blade.
- Pot each division into a container barely larger than its root ball.
Division is faster than corms but only works when the plant has actually produced an offset. You cannot force it.
Aftercare
Newly separated corms and divisions have almost no root system, so they cannot take up much water. Keep the mix lightly damp rather than wet, hold humidity high, and do not fertilise for the first month.
Expect the parent plant to sulk for a few weeks after being disturbed. That is normal, not failure.
Why propagation attempts fail
Cuttings instead of corms
The most common mistake. There is no node to cut.
Corms planted too deep
Fully buried corms rot. Leave the top third exposed.
Too cold
Below about 20°C (68°F) corms sit dormant indefinitely.
Impatience
Eight weeks with no visible change is still within normal, particularly for the slower jewel species.